I
have a reputation for biting off more than I can chew. I really can’t help
myself – if I decide that I want to do something, I do it! This is the case
with our kitchen, and it all started with the floors. If pulling one plank of
the fake wood floor was easy – the rest would be a breeze…right? Wrong! The
floors turned into a tremendous job that only led to other issues, like the
kitchen cabinets and then the handles and then the wall color…. Fortunately, we
are nearing the end of my experiment but it has taken a while. This is a both a
confession and update. Once we finish I will post pictures of the final productJ
Step
1: If you have RA or another condition that limits your physical ability on
occasion, rethink tearing apart your kitchen. Luckily, our contractors were
available in my situation. In other words, you really should have a back-up
plan to any do-it-yourself plan. If not, you may get stuck with a tremendous
mess!
Step
2: Remember, everything always takes longer and more effort than on HGTV – I can’t
stress this enough, but with determination anything can be accomplished.
With
that, here is what I have done so far:
Original cabinets and partial floor after my demo started:


What a mess!


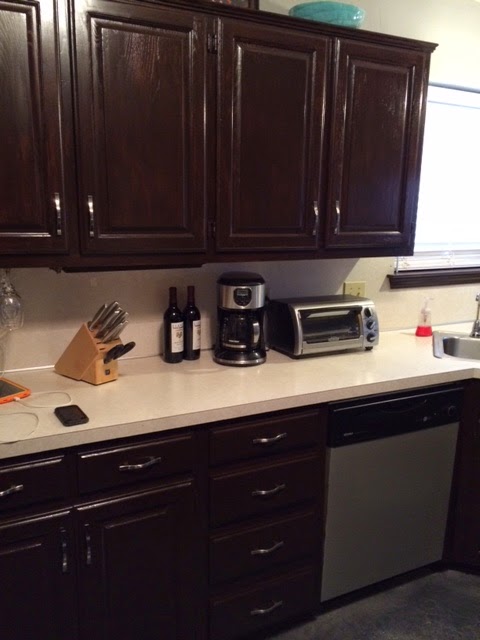
I finally finished the cabinets - hardware still needed:

Stage 1 with the flooring professionals:


Concrete floor finished - only touch-ups needed - and clearly a new wall color:)


As far as I have gotten - going grey with the walls, hardware installed:

Tomorrow
our floors will get their final touch-ups and then the wall and trim paint will
be finished. Lastly, we are having built-in seating installed by an actual
carpenter (not me!) in the next few weeks.
To be
continued…..
***Note:
I will not do this again. I believe strongly in expertise. I have touched the
stove – it is hot, and I am no contractor!
Happy
Memorial Day!
Emily
No comments:
Post a Comment